
Digital Art How To Shade - Shading is an essential skill for any digital artist. It helps bring depth and dimension to your artwork, making it more dynamic and visually pleasing. In this post, we'll explore different shading techniques and tips to help you take your digital art to the next level.
Technique 1: Gradient shading
What is it?
Gradient shading is a simple yet effective technique where you gradually change the color of your brush in order to create a realistic shadow. This technique can be used for shading anything from skin to fabric to objects, and is especially useful for creating a soft, natural gradient.
How to do it:
- Choose a base color for your object.
- Create a new layer above your object.
- Select the gradient tool.
- Choose a darker color than your base color for the gradient.
- Using the gradient tool, click and drag from the top of your object to the bottom, creating a gradient.
Technique 2: Crosshatching
What is it?
Crosshatching is a traditional technique that's been used by artists for centuries. It involves drawing multiple lines at different angles over each other to create a shading effect. This technique is great for adding texture and depth to your artwork.
How to do it:
- Choose a base color for your object.
- Create a new layer above your object.
- Select the brush tool.
- Change the brush settings to a small, hard brush with a high opacity.
- Draw a series of lines in one direction.
- Draw a series of lines at a perpendicular angle to the first set of lines.
Technique 3: Ambient occlusion
What is it?
Ambient occlusion is a shading technique that simulates the way light interacts with objects in a real-world environment. It involves creating shadows in the areas where objects are close together, such as the corners of a room or the folds of fabric.

How to do it:
- Choose a base color for your object.
- Create a new layer above your object.
- Select the brush tool.
- Change the brush settings to a small, soft brush with a low opacity.
- Draw shadows in the areas where objects are close together.
Tip 1: Study real life lighting
One of the best ways to improve your shading skills is to study real life lighting. Observe how light interacts with objects in different environments and take note of the colors and shadows it creates. Try to replicate these lighting scenarios in your artwork.
Tip 2: Use multiple layers
Using multiple layers to shade your artwork can help you make changes more easily and give you more control over the final result. You can create separate layers for each shading technique and adjust the opacity as needed.
Tip 3: Experiment with different blending modes
Blending modes can drastically change the way your shading looks. Try experimenting with different blending modes like Overlay, Soft Light, and Multiply to see what works best for your artwork.
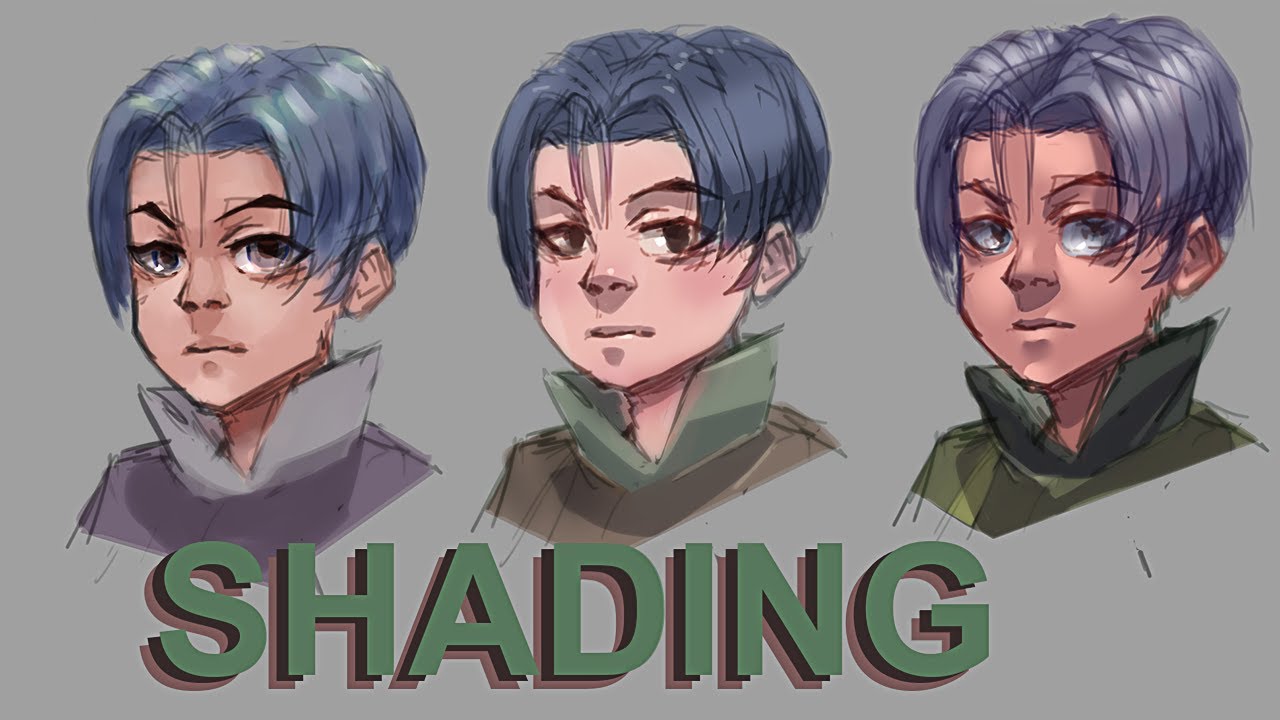
How to shade anime hair
What you need:
- A digital drawing program
- A drawing tablet (optional)
- A pencil brush
How to do it:
- Draw the basic shape of the hair using your pencil brush.
- Add some highlights using a lighter color than your base color.
- Shade the hair using a darker color than your base color.
- Use a soft brush to blend the shading and highlights together.
- Add some additional highlights using a white brush to create a more dynamic look.
Final thoughts
Shading is an essential skill for any digital artist. Whether you're a beginner or an experienced artist, there's always room to improve your shading techniques. By experimenting with different techniques and taking the time to study real life lighting, you can elevate your artwork and create more dynamic and visually pleasing pieces.